Popular News

Discover everything about LoL Worlds 2025 — format, venues, teams, and travel tips for European fans ready to join the action this season!

Master every lineup in Valorant with this 2025 guide — learn perfect utility placement, pro tips, and strategies to dominate every map.

Not sure what to play in 2025? Discover the top 5 games perfect for beginners and casual players.
CS2 Mirage Execute Guide: Pro Smoke Lineups

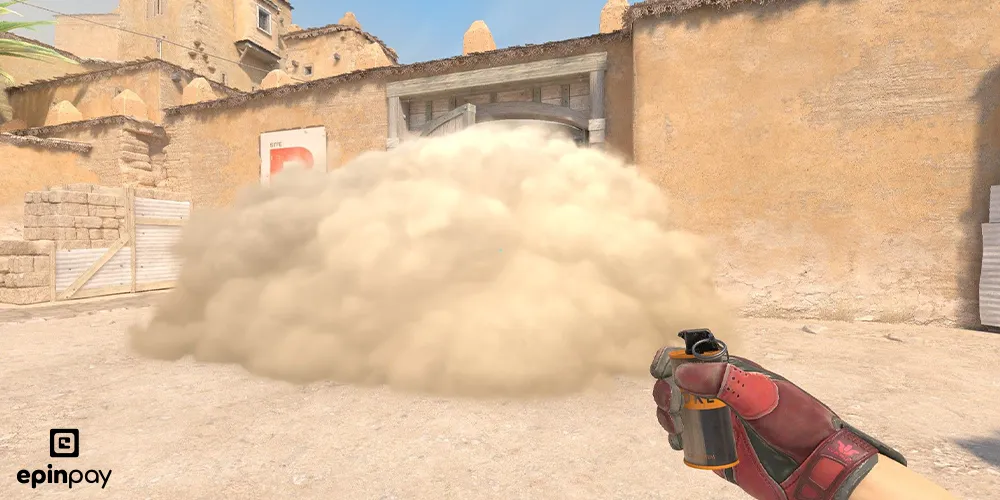
Mirage remains one of the most played and most competitive maps in CS2, and mastering smoke lineups is essential for both ranked play and professional-level coordination. With the updated sub-tick system, movement accuracy changes, and grenade physics improvements in CS2, many classic smokes have slightly shifted — which means 2025 players need updated, consistent, pixel-perfect lineups.
This guide covers the most important Mirage executes, including A site, B site, mid control, and retake smokes, using methods currently favored by top pro players.
🎯 Why Mirage Smokes Matter More in CS2
CS2’s new engine introduced critical changes:
-
✔ Sub-tick precision affects jump-throw timing
-
✔ Smokes interact with lighting & volumetrics (visibility is different)
-
✔ Grenade physics are more consistent but slightly heavier
-
✔ Doorway, window & bench hitboxes updated
Because of these changes, learning updated 2025 smoke lineups is essential if you want to perform clean executes like the pros.
🅰️ A Site Execute — Must-Know Pro Lineups
Executing A site properly requires three main smokes:
📌 CT Smoke
📌 Jungle Smoke
📌 Stairs Smoke
1. CT Smoke (2025 Consistent Version)
Position: T-Spawn, right corner by the bin
Lineup:
-
Stand flush against the right wall.
-
Aim at the top-left corner of the antenna tip.
-
Use jump-throw bind.
Result: Perfectly covers CT without gaps. Safe plant guaranteed.
2. Jungle / Connector Smoke (Pro Choice)
Position: T-roof (A ramp entrance)
Lineup:
-
Position at the small shadow line on the roof.
-
Aim at the middle of the left tower on the skyline.
-
Jump-throw.
Result: Cuts off window, jungle, and connector setups — crucial for split executing A.
3. Stairs Smoke (Updated for CS2 Hitboxes)
Position: Same T-roof area
Lineup:
-
Stand next to wooden bar, align crosshair with the right wall crease.
-
Aim slightly above the rooftop behind stairs.
-
Throw normally (no jump-throw).
Result: Full stairs block, protecting ramp + palace players on entry.
🌆 Mid Control Smokes — Essential for Round Wins
Mid dominance in Mirage equals map control. Here are the three must-use smokes:
4. Window Smoke (2025 Reliable Version)
Position: Mid Top Boxes
Lineup:
-
Climb onto the boxes.
-
Line up crosshair with the roof edge of the white building.
-
Jump-throw.
Result: Cuts off window AWPer fully — no one-way visibility.
5. Connector Smoke (Top Mid)
Position: Top Mid, left wall
Lineup:
-
Stand in the corner at the wall crack.
-
Aim at the antenna intersection on the right.
-
Normal throw.
Result: Works consistently even during movement tick variations.
6. Catwalk Smoke (Mid to B Split)
Position: Top Mid, next to boxes
Lineup:
-
Look at the top of the satellite dish.
-
Move slightly left until aligned with the roof corner.
-
Throw.
Result: Blocks short pushers, allowing smooth B split.
🅱️ B Site Execute — Pro-Level Smoke Lineups

7. Bench Smoke
Position: Apartments, behind the first pillar
Lineup:
-
Crouch and aim at the middle of the wooden beam.
-
Normal throw.
Result: Removes bench angles, protecting site entry.
8. Market Window Smoke
Position: Same location
Lineup:
-
Aim at the inner corner of the roof triangle.
-
Jump-throw.
Result: Prevents AWPers from holding Market Window.
9. Market Door Smoke
Position: Apps back corner
Lineup:
-
Align crosshair with the right light post on the horizon.
-
Throw.
Result: Ensures safe B plant and prevents Market retakes.
♻️ Retake Smokes (Used by Pro Teams in 2025)
10. One-Way Jungle Retake Smoke
Placed at the edge of triple box, allowing defenders to see A ramp without being seen.
11. B Apps Slow Retake Smoke
Thrown from Market Door, pushing attackers back while giving CTs breathing room.
12. Mid Window Re-Fight Smoke
Placed at the corner of Window, letting CTs regain mid control safely.
🎮Tips to Execute Like a Pro
✔ Use a jump-throw bind — essential for CS2 sub-tick consistency
✔ Practice lineups in Rechamber servers
✔ Combine smokes with flash timing
✔ Communicate exact timings (“Stairs 3…2…1… go”)
✔ Never throw A site executes without a Stairs + Jungle combo
We use cookies to ensure our website functions properly, to personalize content and advertisements, and to analyze our site traffic. For more details, please visit our Privacy Policy and KVKK Information Notice pages.